Downloadables
Download the PSD file for this tutorial!
Download the Fullsize Jpeg for this tutorial!
Step 1
Create a new document with dimensions; 1024x768px.
We’ll start off with the base. Select the pen tool then make sure the shape layers button is pressed (top left of the main toolbar). Now using the pen tool draw a shape similar to the one shown below and make sure you close the loop. A wee tip is to hold shift when you want to create horizontal or vertical lines. This might take you a few tries to get right just remember to click, hold and drag only when you want curves.
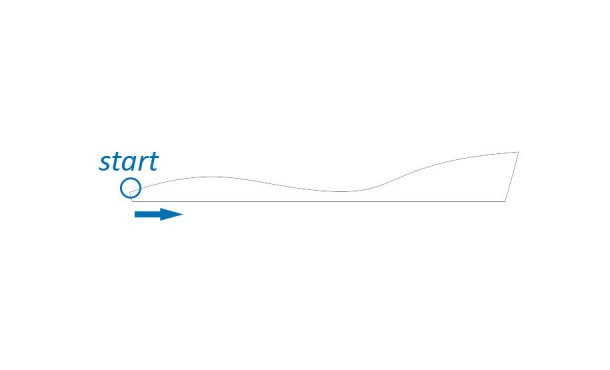
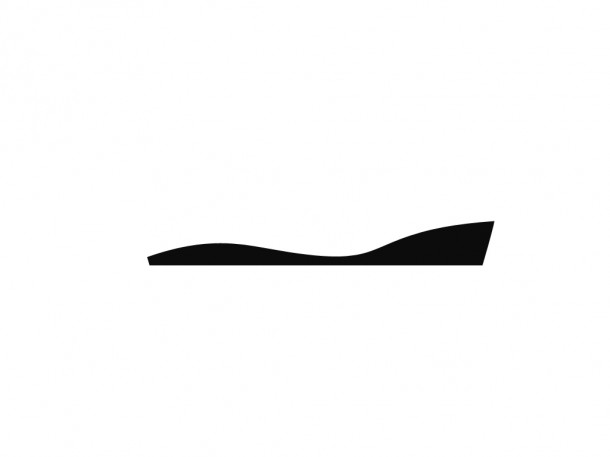
You should end up with this. Now just rename this layer to ‘Base’ just to stay organised.
Step 2
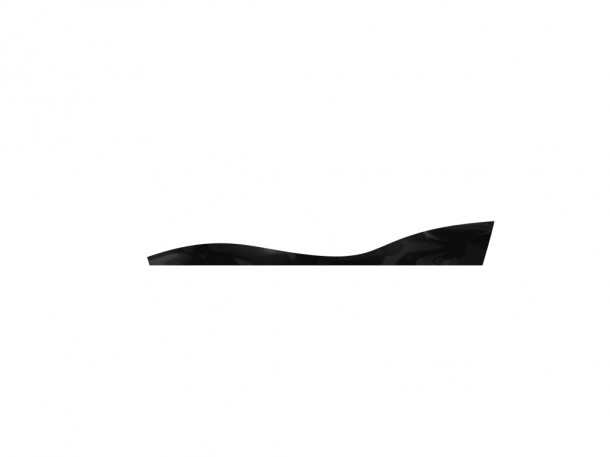
Now we want to make this base look glossy so create a new layer above the previous layer then select the brush tool and make sure the foreground colour is set to white (if not just hit D then X). Select a hard round brush around 15px diameter. Next change the opacity of this brush to about 5% (in the main toolbar). Start brushing randomly over the base but also change the opacity and brush size between strokes; use opacities between 1-10% and brush sizes between 1-10px. You should get left with something like this, if you know how then you can also use the liquify filter here but its not really needed. Lastly make this layer clip to the base by holding Alt and clicking between the two layers.
Step 3
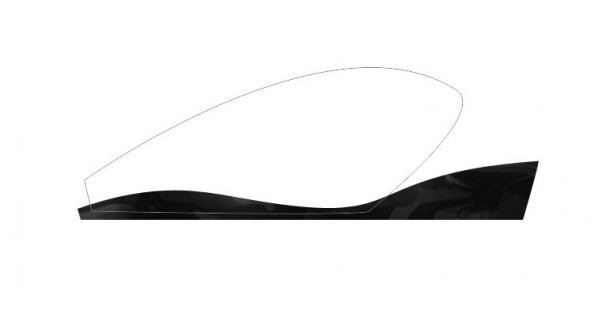
Now were going to create the grip so select the background layer then using the same technique as with the base, create this shape with the pen tool.
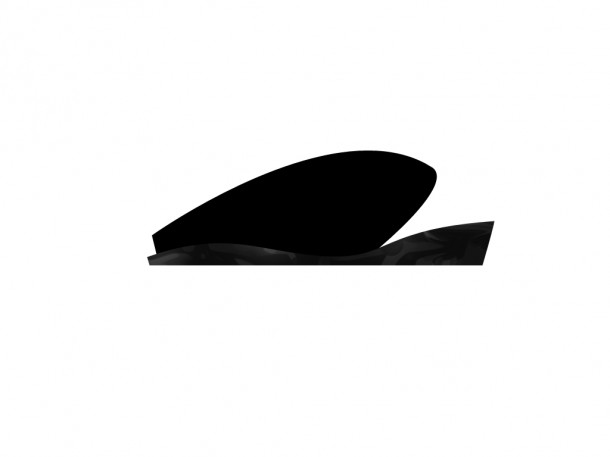
Step 4
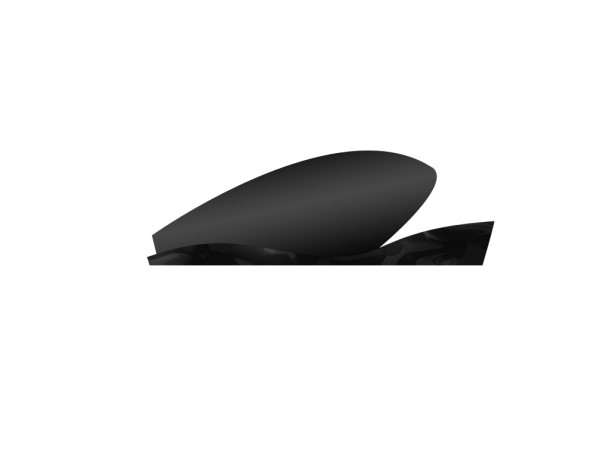
Double click on this layer to bring up the layer styles box then add a gradient overlay using the settings shown below. you can now rename this layer as ‘Grip’.

Step 5
We’re going to try a complicated manoeuvre here. Select the base layer then duplicate it (Ctrl+J) then drag it down in the layers panel so it is between the original base layer and the grip layer. Next hit V to select the move tool then use your up arrow to nudge this layer upwards slightly until it looks like so.
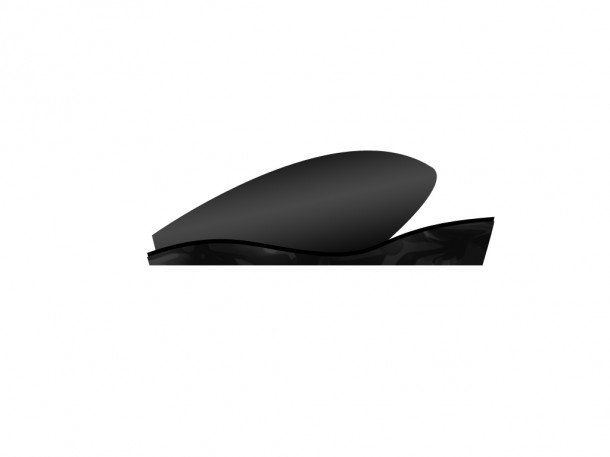
Now change the fill opacity of this layer to 0% (top of the layers panel). Now go into the layer styles for this layer and add a drop shadow using these settings. Even though we’re using the drop shadow, we’re trying to create a highlight. The drop shadow style can be quite useful for this.

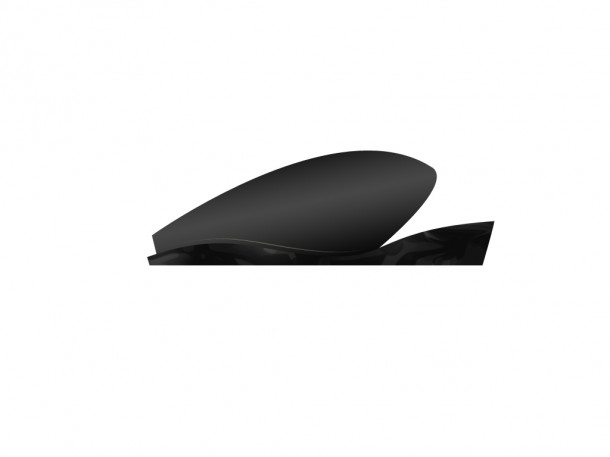
You should get something like this. Now make this layer clip to the grip layer like we did in step 2.
Step 6
Create a new layer and make this one clip to the grip layer by Alt+clicking between this layer and the highlight layer. Now select a soft white brush with 100% opacity and maybe about 80px. Add a few blobs in places where you thing a highlight should be. You can refer to the image below.
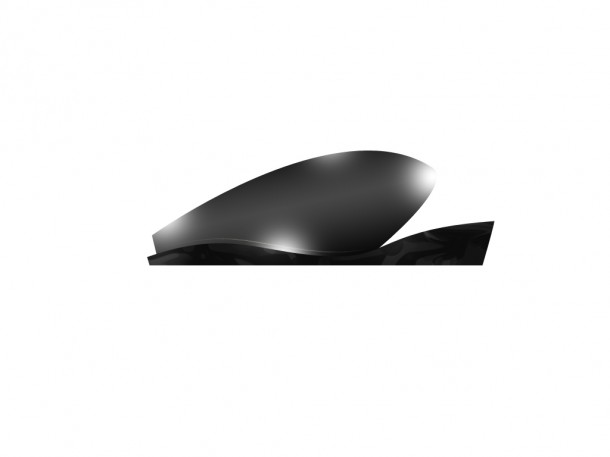
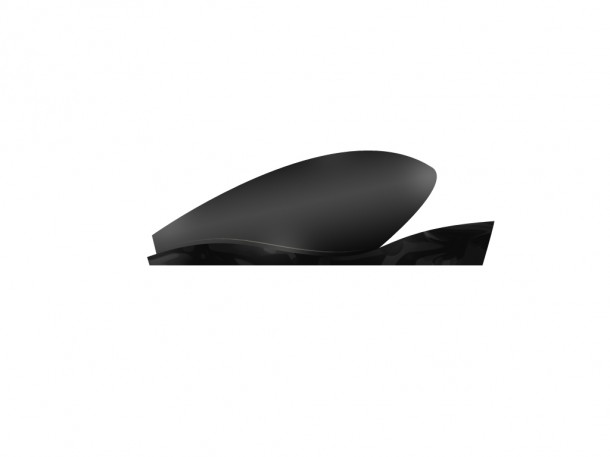
Now change the opacity of this layer to 20%.
Step 7
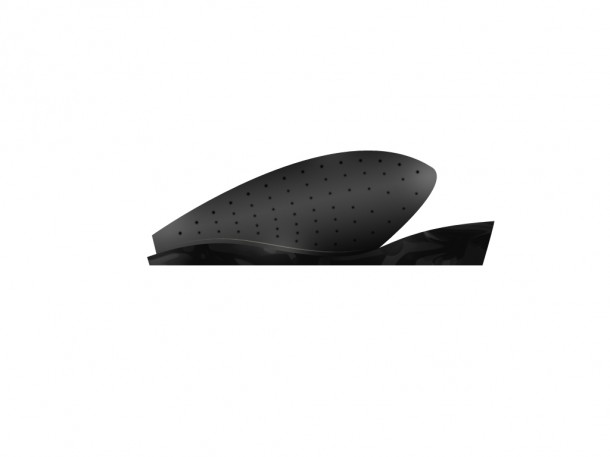
Select the brush tool (B) then open up the brush panel (F5) and use the settings shown below.

Create a new layer then select the pen tool and this time make sure it’s set to paths rather than shapes in the main toolbar. Draw a path like the one shown below.
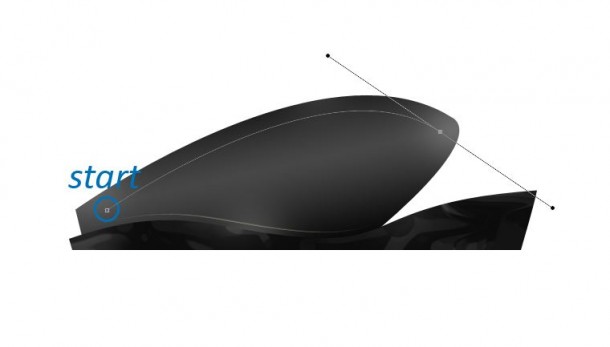
Now change the foreground color to black (just hit D) then select the brush tool and hit return to stroke the path. You should see that we’ve ended up with little circles because of our brush spacing.
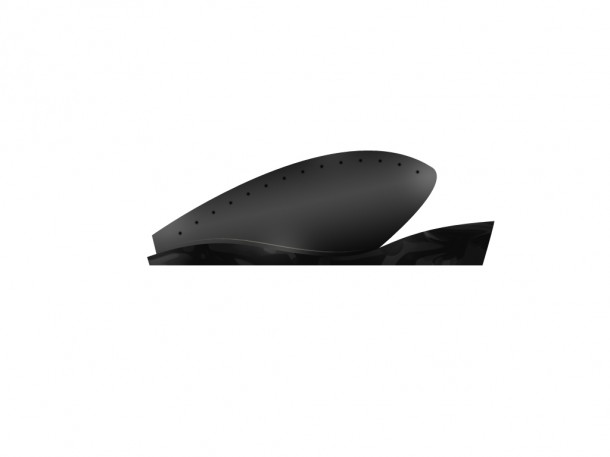
Repeat this a few times until you’re mouse looks like this.
Step 8
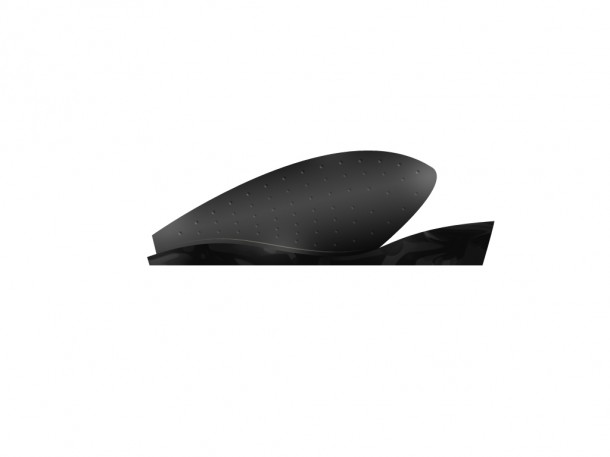
Open up the layer styles and add a bevel and emboss with these settings.

Step 9
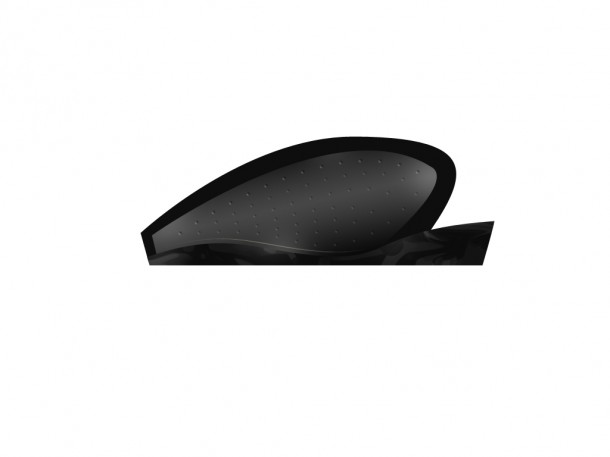
Now we’re going to tackle the mouse side. Using the same technique as before create this shape. Make sure you select the background layer first so that you end up with the shape behind the grip. Next change the color of this shape by double clicking on the layer thumbnail then changing the color to #0e0e0e. You can rename this layer to ‘side’.
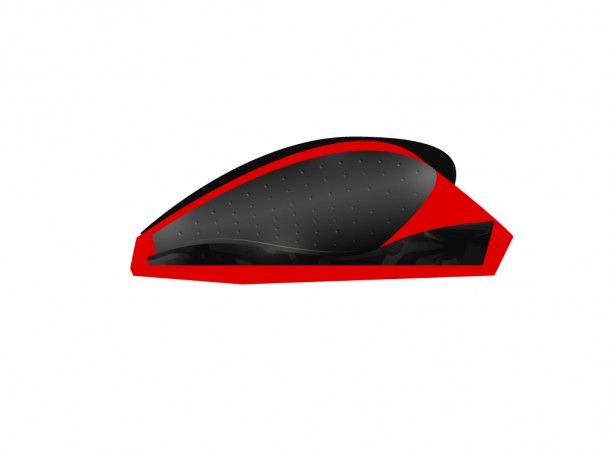
Now create another shape much like the one shown below and make this the same color as the last shape. I just changed mine to red so that it was easier to see.
Step 10
Add a drop shadow and a gradient overlay using these settings. The gradient goes from white to transparent black.


Lastly just make this layer clip to the one below it.
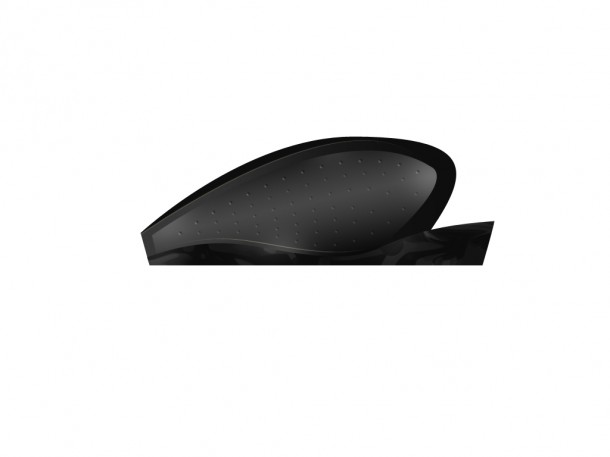
Step 11
Use the same technique as you did for the base to get the glossy finish.
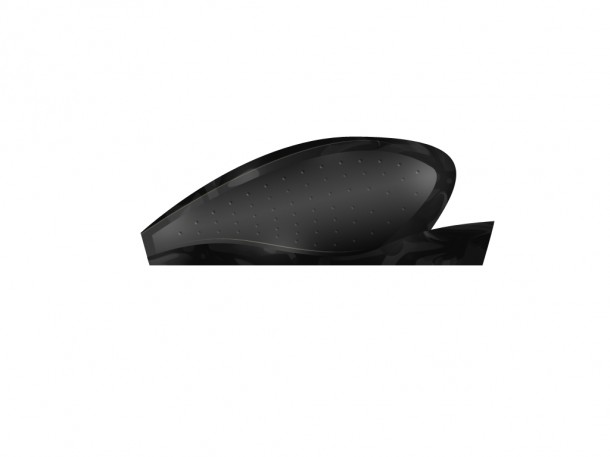
If you zoom in then you can add some highlights in a new layer. A useful brush for this is the star brush found under the assorted brushes (open the brush chooser then click the wee triangle).
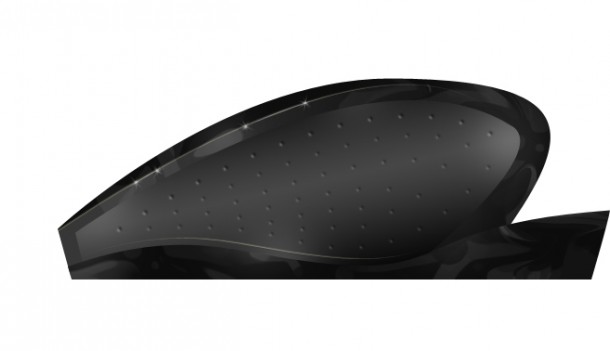
Step 12
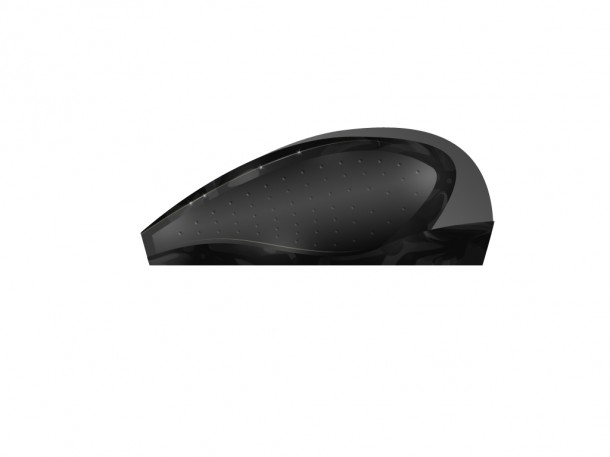
Now same again, select the background layer then crate this shape for the body. You can rename this layer too.
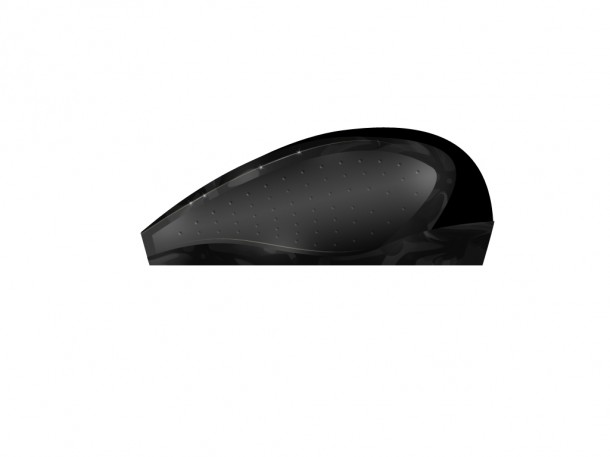
Add a gradient overlay using settings similar to the ones shown below.

Step 13
Using exactly the same technique as in step 6, add some soft highlights with the brush tool. This adds some extra depth to the image.
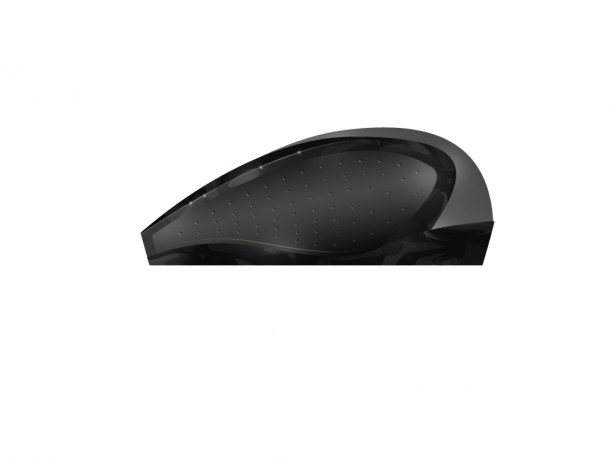
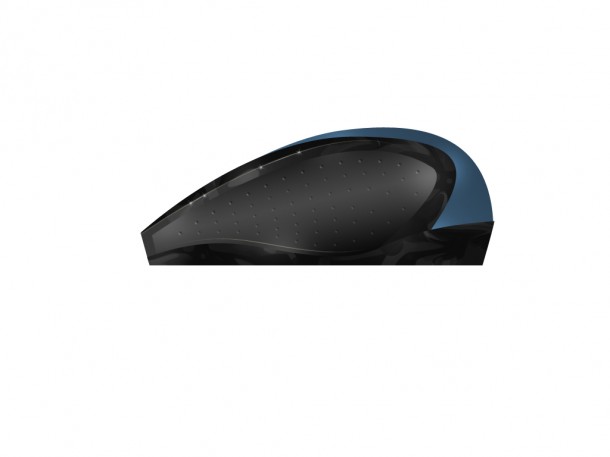
Next add a Hue/Saturation adjustment layer and make it clip to the body. I’ll let you work out the settings yourself, you’ll have to check the colorize box though. Feel free to make your mouse any color.
Step 14
Now for the scroll wheel. Use the ellipse shape tool and hold shift to create a circle. Make sure the circle is behind the body layer. Change the color to a darkish grey.
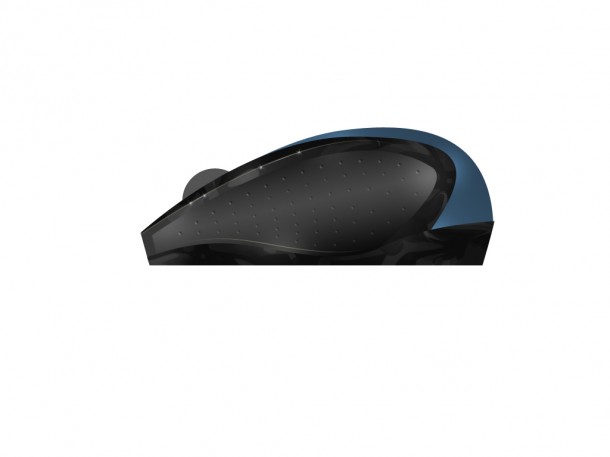
Now add a bevel and emboss, a gradient overlay and a stroke using roughly the settings shown below.


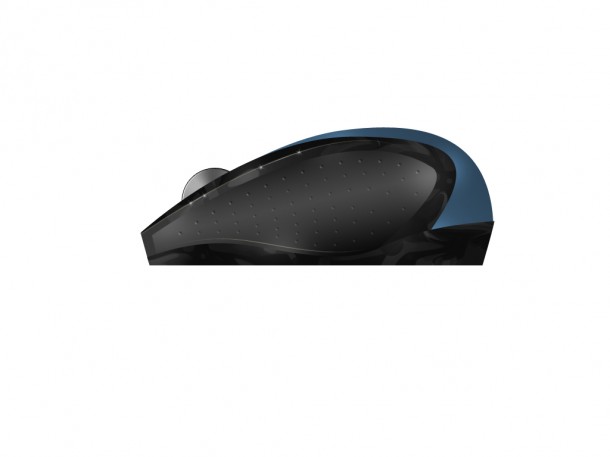
Step 15
Now add two more circles inside this one and use similar layer styles, I won’t go through all of them as I’m sure you can work them out. Just play around for a bit.
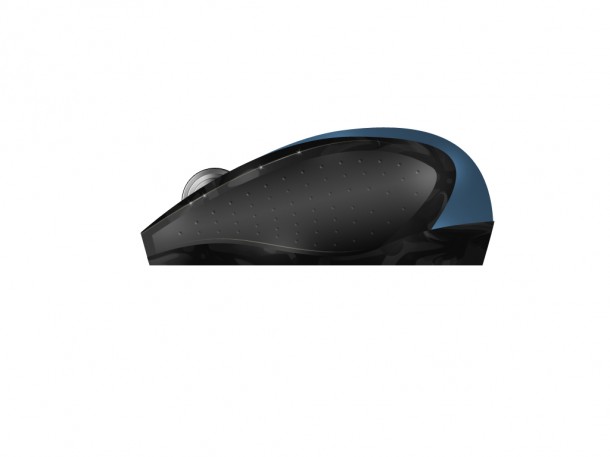
Now using the star brush again add some more bright highlights like we did in step 11
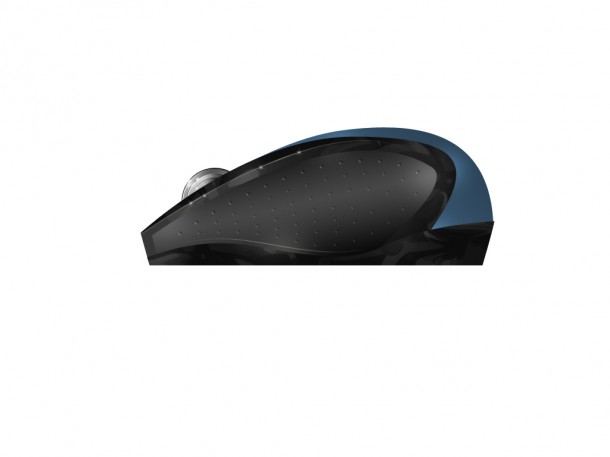
Step 16
Now a couple of small things we can touch up now that we’ve built most of our mouse. First go into the the layer styles for the base and add this drop shadow.

Then go into the the layer styles for the grip and add this drop shadow.

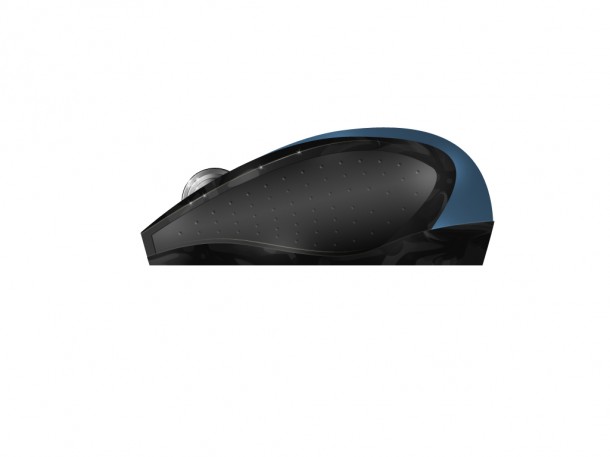
Next we’re going to create the buttons; by now you should be an expert at creating shapes and adding layer styles so I’ll let you work most of it out yourself. You can either use one shape with combined paths or two separate shapes for this. If you do it as two separate shapes then by right clicking on a layer you can copy the layer style which might be helpful. You’ll have to make this layer above all the other layers.
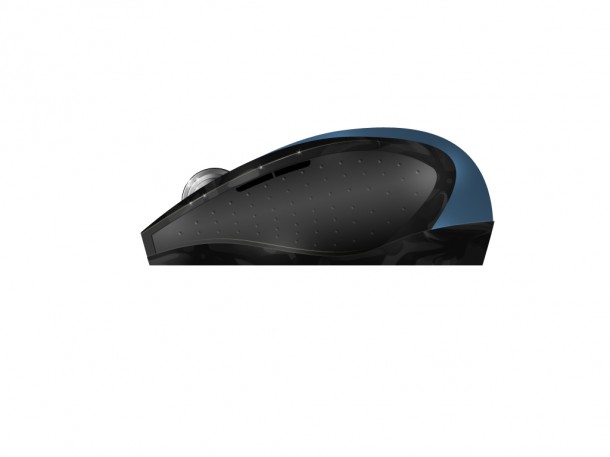
I used a gradient overlay, a bevel and emboss and a stroke for these buttons.
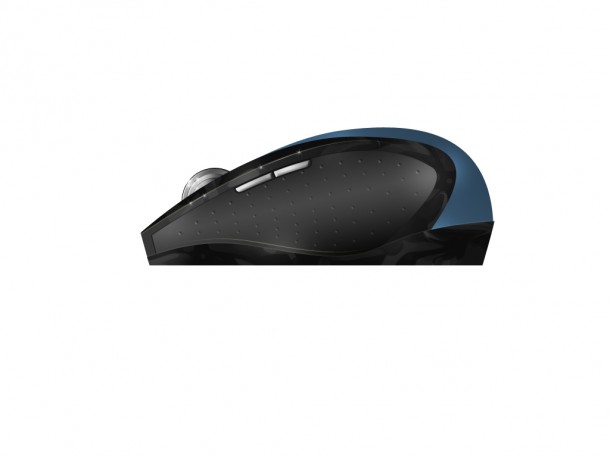
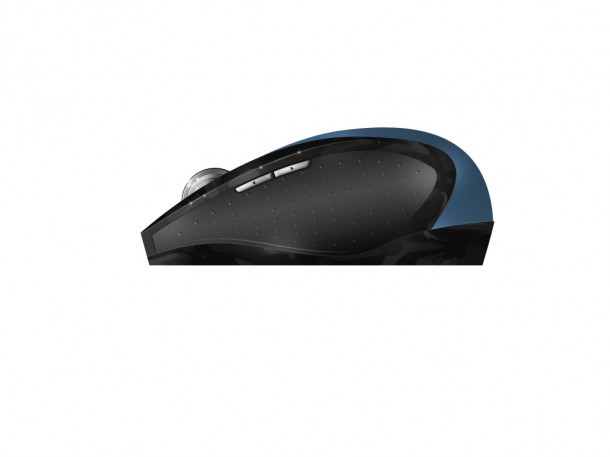
To finish off the buttons add a couple of small triangles, I just used the polygon shape tool with three sides.
Step 17
My mouse has some fancy wee glowing green lights which indicate the battery level so create a new layer above all the other layers and with a small hard round brush just place some bright green dots on the side of the mouse.
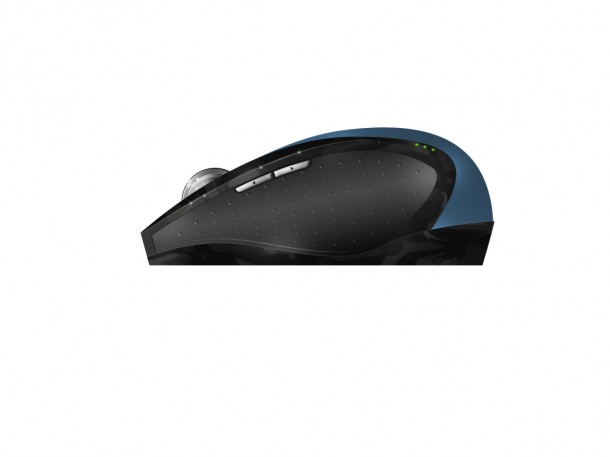
Now add an outer glow with these settings.

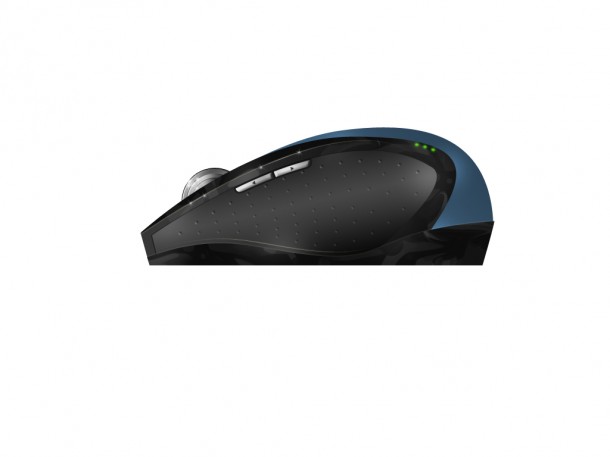
Step 18
I created a simple background by just using a black to white linear gradient then set the opacity to 50%. I also added a shadow using a soft black brush, I then used the rectangular marquee tool to delete some of the brushing and give a straight edge at the top of the shadow. I also added a reflection; there’s millions of tutorials that teach you how to do this so I won’t bother explaining it here. I always blur my reflection layer, I think it looks much better.
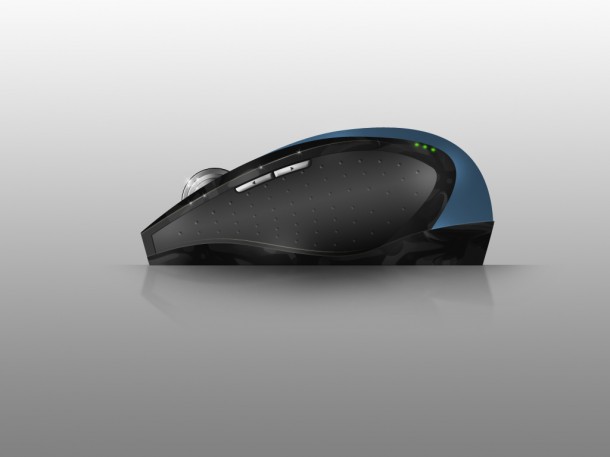
Step 19
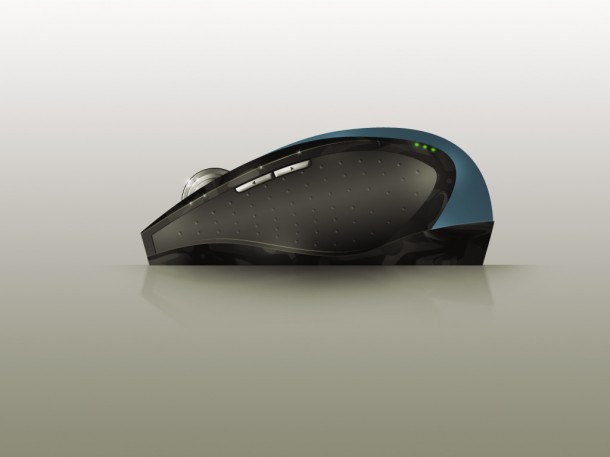
I’ll show you a great technique that I usually use to finish off an image like this to give the image some more natural lighting. First create a new gradient map adjustment layer at the above all other layers then select the orangey yellow one from the presets. Now just change the layer mode to overlay and the opacity to 8%.
And that’s us done, I hope you learnt something new today and enjoyed the tutorial.













климатици
Nice tutorial – good explained with nice techniques. Thanks :)
Childmonster
Nice tutorial.
Отработени Масла
Great tutorial, thanks
Bruno Ricardo
Wow, very nice.
Thanks.
sabir
thanksssssssssssssssssssssssssssssssssssssssssssssssssssssssssssssssssssssssssssssssssssssssssss
khaled
good job lovely
Camen deface
This is terrible
Design Tutorial
Wonderful tutorial. Every step very clear. Thanks for share it.
ululf01
thanks for the great tutorial .
website design noosa
I am actually thankful to the owner of this site who has
shared this fantastic article at at this place.
com.au
Wow that was odd. I just wrote an very long comment but after I clicked submit
my comment didn’t show up. Grrrr… well I’m not writing all that over again.
Regardless, just wanted to say excellent blog!
computer Repair Bickley Vale
I’m curious to find out what blog system you’re utilizing?
I’m having some small security problems with my latest site and I would like to find something more risk-free. Do you have any solutions?
laptop repair sydney
Thank you, I have recently been searching for info about this subject
for a while and yours is the greatest I’ve found out so far.
But, what in regards to the conclusion? Are you certain about the supply?
Alba
While medication manufacturers are working hard to develop oral medications that could improve male organ sensitivity levels,
topical male organ health cremes might play a key role. His emergency treatment was to get the patient
to drink a cup of cayenne tea and within minutes the danger
has passed. The acai berries must be loaded into baskets and onto boats soon after picking.
The hundreds of people were tested to find the human energy vibration was raised, the energy increased.
Whether it exists is beside the point: the Self, or soul
as an essence has never been perceived objectively by anyone.
Rahul amin
Thanks good step
Rahul amin
good step